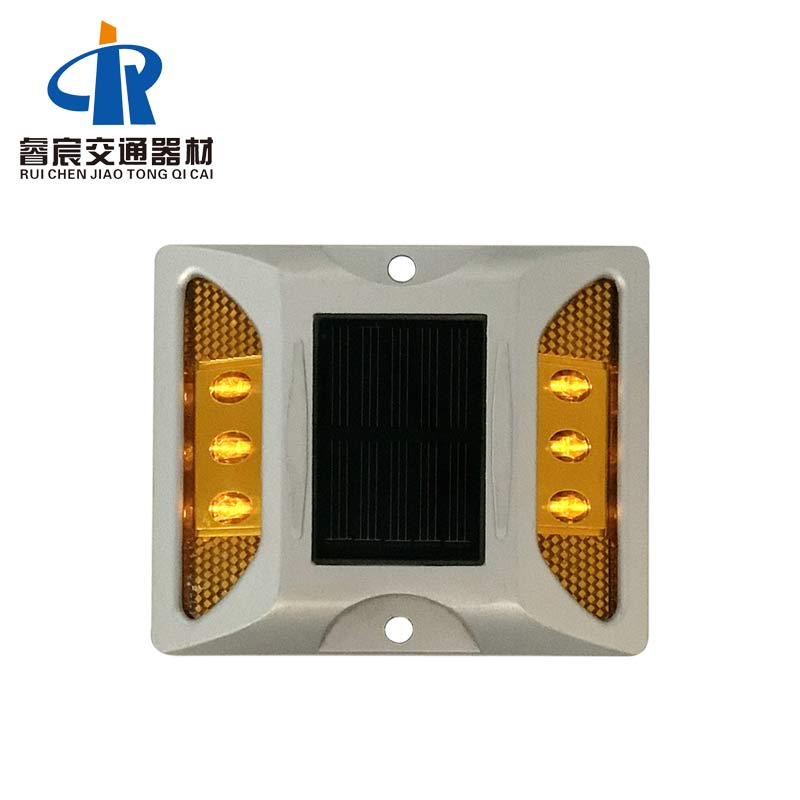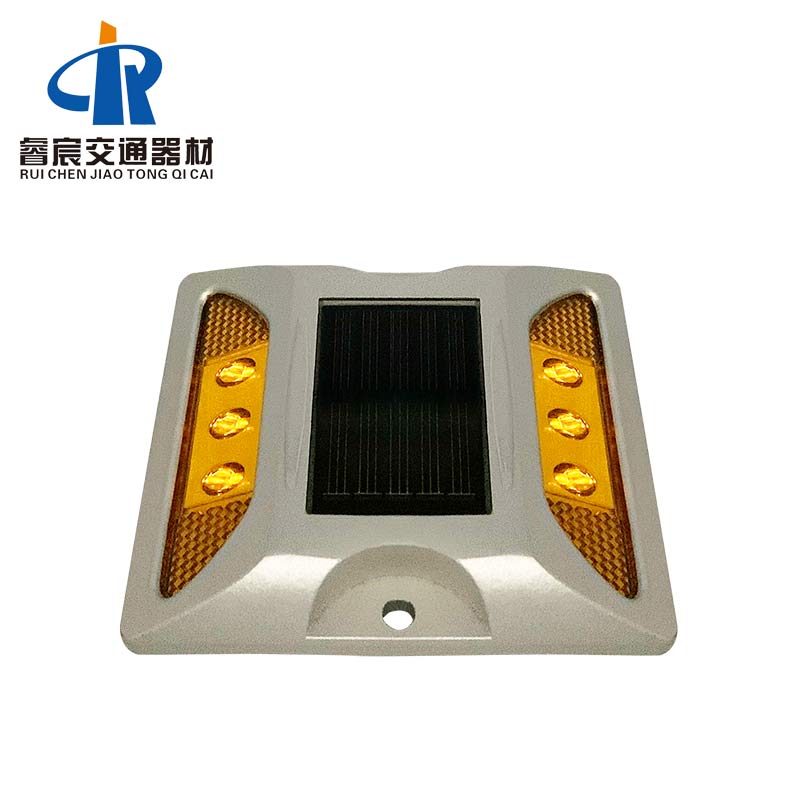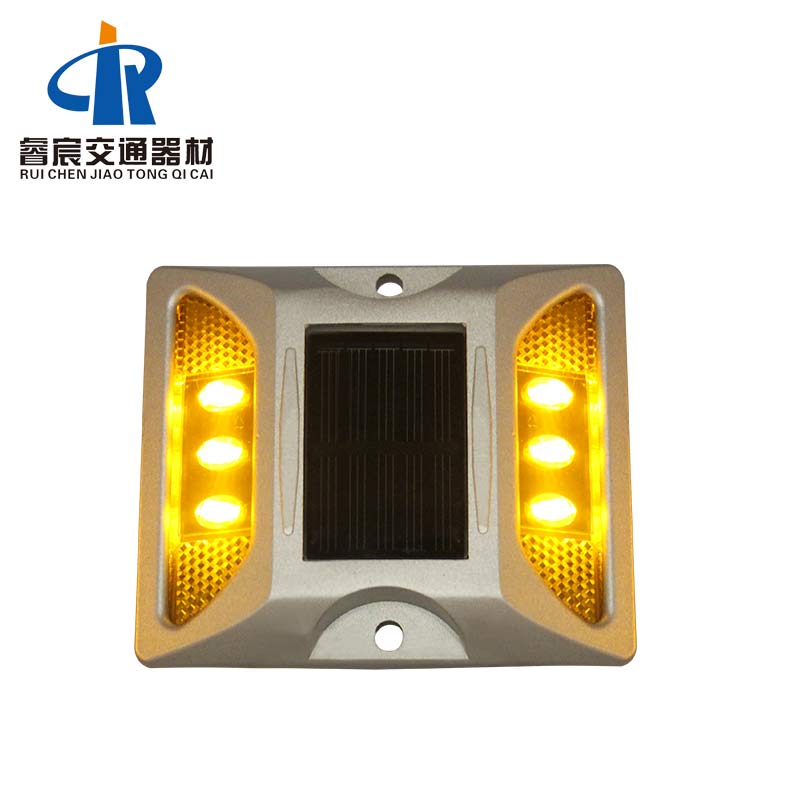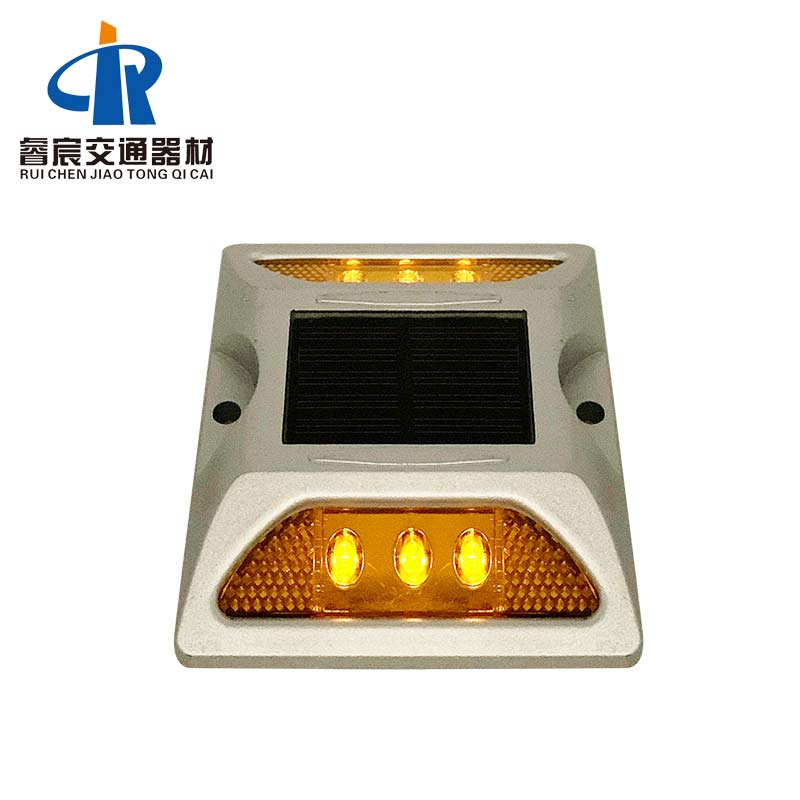


Load Bearing: >20T(static)
Warranty: 12 Months
Body material: GB Cast Aluminium alloy
Power supply: Solar panel(monocrystalline 2.5V/0.2W)
Visual distance: > 800m
Working Mode: Flashing or Constant
Waterproof: IP68
Shank: With shank or Without shank
LED Solar Road Markers Features:
•High shock resistance, energy-saving, environment friendly.
•Automatically starts to work when night falls or with the onset of inclement weather.
•These aluminum alloy LED Solar Road Markers are naturally charged by the sun.
•The LED lights of LED Solar Road Markers come on automatically as soon as it starts getting dark every night.
• Cost-effective, solar road markers are easy to install and require absolutely no wires or maintenance.
•Dramatically enhance the look of your garden/yard/driveway.
•Specifically designed with road safety in mind and can help to prevent serious accidents and emit rather than reflect light.
•Pavement marker solar road marker accept OEM/ODM

LED Solar road marker Light Parameters:
| Material: | Heavy-duty casting aluminum |
| Power supply: | The solar panel(monocrystalline 2.5V/0.2W) |
| Battery: | NI-MH 1.2V/800MAH |
| Working model: | Blinking or Constant Charging at daytime and working automatically at night |
| LED: | Diameter 5mm;2pcs or 3pcs per side |
| LED colors: | Yellow, White, Red, Green, Blue |
| Life span: | 3 years |
| Resistance: | >20T(static) |
| Size: | L123*W133*H22mm+55mm (L4.84″*W5.24″*H0.87″+2.17″) |
| Visual distance: | >800M |
| Water proof: | IP68 |
| Carton Size: | 2pcs/box; 60pcs/ctn; Weight: 21kgs; Carton size:58.5*24.5*18.5cm (2pcs/box; 60pcs/ctn; Weight: 46.30bs; Carton size:23.03″*9.65″*7.28″) |

Application of Aluminum solar road marker D3:
♥Schools and hospitals
♥Highways
♥High traffic areas
♥Walking paths
♥Transit stations
♥Parks and campuses
♥Urban Road
How to install LED Solar Road Markers D3:
1. Carefully mark the distance between the placement of the solar road markers. To prevent adverse effects on the ground, use appropriate tools, such as core drills, which have a diameter of 35mm and a depth of 55mm.
2. Remove all debris from the mounting hole.
3. Pour epoxy resin into the hole according to the manufacturer’s instructions.
Make sure that the mounting holes are straight. Make sure that the mounting hole is large enough to allow epoxy resin to surround the solar road markers.
4. Adjust the lighting surface of the solar road marker to the desired viewing angle.
5. Make sure that the epoxy resin adheres evenly to the mounting hole and the solar road markers. Make sure that the bottom of the solar road marker is securely mounted on the mounting surface to ensure that zero “surface floating” occurs. (Space between the installation sign and the bottom of the solar road markers).
6. After curing the LED solar road markers for 6-8 hours, remove the installation of the isolation facility.